📅 2024年10月26日
📦 kind版本
之所以这么老我是想着用
1.19版本的就给他降级了,降级之后发现还是创建不了1.19的k8s
🏆 Kind 搭建 Ingress和 istio
关于
kind的安装和配置可以查看的之前的博客Wsl和Kind搭建Kubernetes⚠️ 注意选好的需要安装的
k8s版本和kind版本在github中kind项目查看
🍪 搭建 kubernetes集群和 Flannel
1️⃣ 配置 kind_config
详细请查看https://kind.sigs.k8s.io/docs/user/configuration/
结合 https://kind.sigs.k8s.io/docs/user/ingress/
配置文件如下,如果需要安装 ingress就需要将容器的 443和 80端口映射到本地主机上,node-labels: "ingress-ready=true" 给节点打上标签使得 ingress可以正常部署
apiVersion: kind.x-k8s.io/v1alpha4
kind: Cluster
name: istio
networking:
  podSubnet: 10.244.0.0/16 ##这里我安装flannel使用就使用此子网
  serviceSubnet: 10.96.0.0/12
  disableDefaultCNI: true ##禁用默认CNI插件
nodes:
- role: control-plane
  image: kindest/node:v1.24.1 ##版本
  kubeadmConfigPatches:
  - |
    kind: InitConfiguration
    nodeRegistration:
      kubeletExtraArgs:
        node-labels: "ingress-ready=true"
  extraMounts: ##挂载
  - hostPath: /opt/masterOne
    containerPath: /etc/kubernetes
    readOnly: false
  extraPortMappings: ##暴露端口
  - containerPort: 22
    hostPort: 31023
    protocol: TCP
  - containerPort: 80
    hostPort: 80
    protocol: TCP
  - containerPort: 443
    hostPort: 443
    protocol: TCP
使用 kind创建集群
root@Tc-Server:/opt# kind create cluster --config=kind_config/kind2_config.yaml
Creating cluster "istio" ...
 ✓ Ensuring node image (kindest/node:v1.24.1) 🖼
 ✓ Preparing nodes 📦
 ✓ Writing configuration 📜
 ✓ Starting control-plane 🕹️
 ✓ Installing StorageClass 💾
Set kubectl context to "kind-istio"
You can now use your cluster with:

kubectl cluster-info --context kind-istio

Have a nice day! 👋
2️⃣ 安装 CNI插件,在 kind_config中禁用了默认 CNI插件所以自行安装
我的 docker内部 prxoy未设置,所以我在宿主机上下载 cni,copy到 docker内即可
##在宿主机内执行
wget https://github.com/containernetworking/plugins/releases/download/v1.6.0/cni-plugins-linux-amd64-v1.6.0.tgz

##copy到docker
docker cp cni-plugins-linux-amd64-v1.6.0.tgz istio-control-plane:/opt
进入容器内解压
docker exec -it istio-control-plane  bash

##删除原有的cni
rm -rf /opt/cni/bin

##解压
tar zxvf cni-plugins-linux-amd64-v1.6.0.tgz  -C /opt/cni/bin/

##查看
root@istio-control-plane:/opt/cni/bin# ls
LICENSE    bandwidth  dhcp   firewall  host-device  ipvlan    macvlan  ptp  static  tuning  vrf
README.md  bridge     dummy  flannel   host-local   loopback  portmap  sbr  tap     vlan
3️⃣ 安装 flannel
直接执行 kubeclt命令即可
kubectl apply -f https://github.com/flannel-io/flannel/releases/latest/download/kube-flannel.yml
查看是否启动
root@Tc-Server:/opt# kubectl  get all -n kube-flannel
NAME                        READY   STATUS    RESTARTS   AGE
pod/kube-flannel-ds-5lbtx   1/1     Running   0          136m

NAME                             DESIRED   CURRENT   READY   UP-TO-DATE   AVAILABLE   NODE SELECTOR   AGE
daemonset.apps/kube-flannel-ds   1         1         1       1            1           <none>          136m
🍰 安装ingress
注意选择好对应
k8s的版本号,https://github.com/kubernetes/ingress-nginx/tree/controller-v1.7.1
还是一样直接执行 kubectl
kubectl apply -f https://raw.githubusercontent.com/kubernetes/ingress-nginx/refs/tags/controller-v1.5.1/deploy/static/provider/kind/deploy.yaml
然后查看是否启动
root@Tc-Server:/opt# kubectl get pod -n ingress-nginx
NAME                                        READY   STATUS      RESTARTS   AGE
ingress-nginx-admission-create-mdq7k        0/1     Completed   0          137m
ingress-nginx-admission-patch-97r4j         0/1     Completed   0          137m
ingress-nginx-controller-7bbbc9878f-fwlks   1/1     Running     0          137m
如果镜像拉取错误,就在宿主机上拉取随后使用如下命令导入即可
kind load docker-image <镜像名> --name istio
使用 kind官网的小测试测试一下
kubectl apply -f https://kind.sigs.k8s.io/examples/ingress/usage.yaml

###部署后访问
root@Tc-Server:/opt/istio# curl localhost/foo/hostname
foo-approot
@Tc-Server:/opt/istio# curl localhost/bar/hostname
bar-approot@Tc-Server:/opt/istio#
💥 安装Isitio
🏢 官网https://istio.io/v1.18/zh/docs/setup/install/istioctl
注意版本,打开链接查看支持的版本: https://istio.io/v1.18/zh/docs/releases/supported-releases/
由于我是 1.24.1,这里选择 1.18版本
1️⃣ 下 istioctl
curl -L https://istio.io/downloadIstio | ISTIO_VERSION=1.18.2 TARGET_ARCH=x86_64 sh -

##进入下载目录下的istio的bin目录执行如下命令查看是否支持此版本
root@Tc-Server:/opt/istio/istio-1.18.2/bin# ./istioctl x precheck
✔ No issues found when checking the cluster. Istio is safe to install or upgrade!
  To get started, check out https://istio.io/latest/docs/setup/getting-started/

##设置环境变量
export PATH=$PWD/bin:$PATH
2️⃣ 安装 istiod,istio有多个配置版本,可以使用如下命令查看,点入如下命令查看区别https://istio.io/v1.18/zh/docs/setup/additional-setup/config-profiles/
root@Tc-Server:/opt/istio/istio-1.18.2/bin# istioctl profile list
Istio configuration profiles:
    ambient
    default
    demo
    empty
    external
    minimal
    openshift
    preview
    remote

##安装demo版本
istioctl install --set profile=demo

##查看istio-system名称空间
root@Tc-Server:/opt/istio/istio-1.18.2/bin# kubectl get pod -n istio-system
NAME                                    READY   STATUS    RESTARTS   AGE
istio-egressgateway-9d945b6fc-9tqps     1/1     Running   0          42m
istio-ingressgateway-67c77cfc47-l4pcp   1/1     Running   0          42m
istiod-7c65799ccc-rr4k4                 1/1     Running   0          42m
root@Tc-Server:/opt/istio/istio-1.18.2/bin# kubectl get all -n istio-system
NAME                                        READY   STATUS    RESTARTS   AGE
pod/istio-egressgateway-9d945b6fc-9tqps     1/1     Running   0          43m
pod/istio-ingressgateway-67c77cfc47-l4pcp   1/1     Running   0          43m
pod/istiod-7c65799ccc-rr4k4                 1/1     Running   0          43m

NAME                           TYPE           CLUSTER-IP       EXTERNAL-IP   PORT(S)
                                AGE
service/istio-egressgateway    ClusterIP      10.111.221.105   <none>        80/TCP,443/TCP
                                43m
service/istio-ingressgateway   LoadBalancer   10.98.214.167    <pending>     15021:30690/TCP,80:31224/TCP,443:31471/TCP,31400:32335/TCP,15443:30951/TCP   43m
service/istiod                 ClusterIP      10.104.253.213   <none>        15010/TCP,15012/TCP,443/TCP,15014/TCP                                        43m

NAME                                   READY   UP-TO-DATE   AVAILABLE   AGE
deployment.apps/istio-egressgateway    1/1     1            1           43m
deployment.apps/istio-ingressgateway   1/1     1            1           43m
deployment.apps/istiod                 1/1     1            1           43m

NAME                                              DESIRED   CURRENT   READY   AGE
replicaset.apps/istio-egressgateway-9d945b6fc     1         1         1       43m
replicaset.apps/istio-ingressgateway-67c77cfc47   1         1         1       43m
replicaset.apps/istiod-7c65799ccc                 1         1         1       43m
2️⃣ 开启自动注入
自动注入会在每个新创建的 pod中使用边车的形式注入一个 envoy,首先需要配置 api-version,打开动态 admission控制器
注意此目录在之前
kind配置文件中配置了挂载,故可以直接在宿主修改此处注意单词拼写,以便不会出现
api-server出错的情况
root@Tc-Server:/opt/istio# cat /opt/masterOne/manifests/kube-apiserver.yaml  |grep admission
    - --enable-admission-plugins=NodeRestriction,MutatingAdmissionWebhook,ValidatingAdmissionWebhook
开启自动注入,其实就是在需要注入的资源中打上 istio-injection=enabled标签即可
kubectl label namespaces default istio-injection=enabled
布署 bookinfo应用查看注入情况,在 istio目录下,如果 READY容器为 2则表示成功
kubectl apply -f samples/bookinfo/platform/kube/bookinfo.yaml

##查看启动情况
NAME                              READY   STATUS    RESTARTS   AGE
details-v1-7d4d9d5fcb-vjggl       2/2     Running   0          5h19m
productpage-v1-7b4dbf9c75-f72xj   2/2     Running   0          5h19m
ratings-v1-85cc46b6d4-6z4tm       2/2     Running   0          5h19m
reviews-v1-777df99c6d-c85lh       2/2     Running   0          5h19m
reviews-v2-cdd8fb88b-v4x2k        2/2     Running   0          5h19m
reviews-v3-58b6479b-gx8xv         2/2     Running   0          5h19m
3️⃣ 安装 Kiali、jaeger、Prometheus、Grafana,在 /samples/addons/ 中
kubectl apply -f istio-1.18.2/samples/addons/

##查看是否成功
root@Tc-Server:/opt/istio# kubectl get pod -n istio-system
NAME                                    READY   STATUS    RESTARTS   AGE
grafana-cc959c75c-vzxws                 1/1     Running   0          3h59m
istio-egressgateway-9d945b6fc-9tqps     1/1     Running   0          6h35m
istio-ingressgateway-67c77cfc47-l4pcp   1/1     Running   0          6h35m
istiod-7c65799ccc-rr4k4                 1/1     Running   0          6h35m
jaeger-7747d44bfc-6wpkn                 1/1     Running   0          4h1m
kiali-67946bcc89-lhshs                  1/1     Running   0          5h23m
prometheus-85674d4cb8-zx89z             2/2     Running   0          3h59m

root@Tc-Server:/opt/istio# kubectl get svc -n istio-system
NAME                   TYPE           CLUSTER-IP       EXTERNAL-IP   PORT(S)                                                                      AGE
grafana                ClusterIP      10.97.103.132    <none>        3000/TCP                                                                     3h59m
istio-egressgateway    ClusterIP      10.111.221.105   <none>        80/TCP,443/TCP                                                               6h36m
istio-ingressgateway   LoadBalancer   10.98.214.167    <pending>     15021:30690/TCP,80:31224/TCP,443:31471/TCP,31400:32335/TCP,15443:30951/TCP   6h36m
istiod                 ClusterIP      10.104.253.213   <none>        15010/TCP,15012/TCP,443/TCP,15014/TCP                                        6h36m
jaeger-collector       ClusterIP      10.105.25.166    <none>        14268/TCP,14250/TCP,9411/TCP                                                 4h1m
kiali                  ClusterIP       10.103.215.99    <none>        20001/TCP,9090/TCP                                               5h23m
prometheus             ClusterIP      10.104.162.12    <none>        9090/TCP                                                                     3h59m
tracing                ClusterIP      10.111.53.24     <none>        80/TCP,16685/TCP
                        4h1m
zipkin                 ClusterIP      10.109.92.62     <none>        9411/TCP
⚠️ 此时可以出现镜像拉取错误,可以使用之前从宿主机中导入的
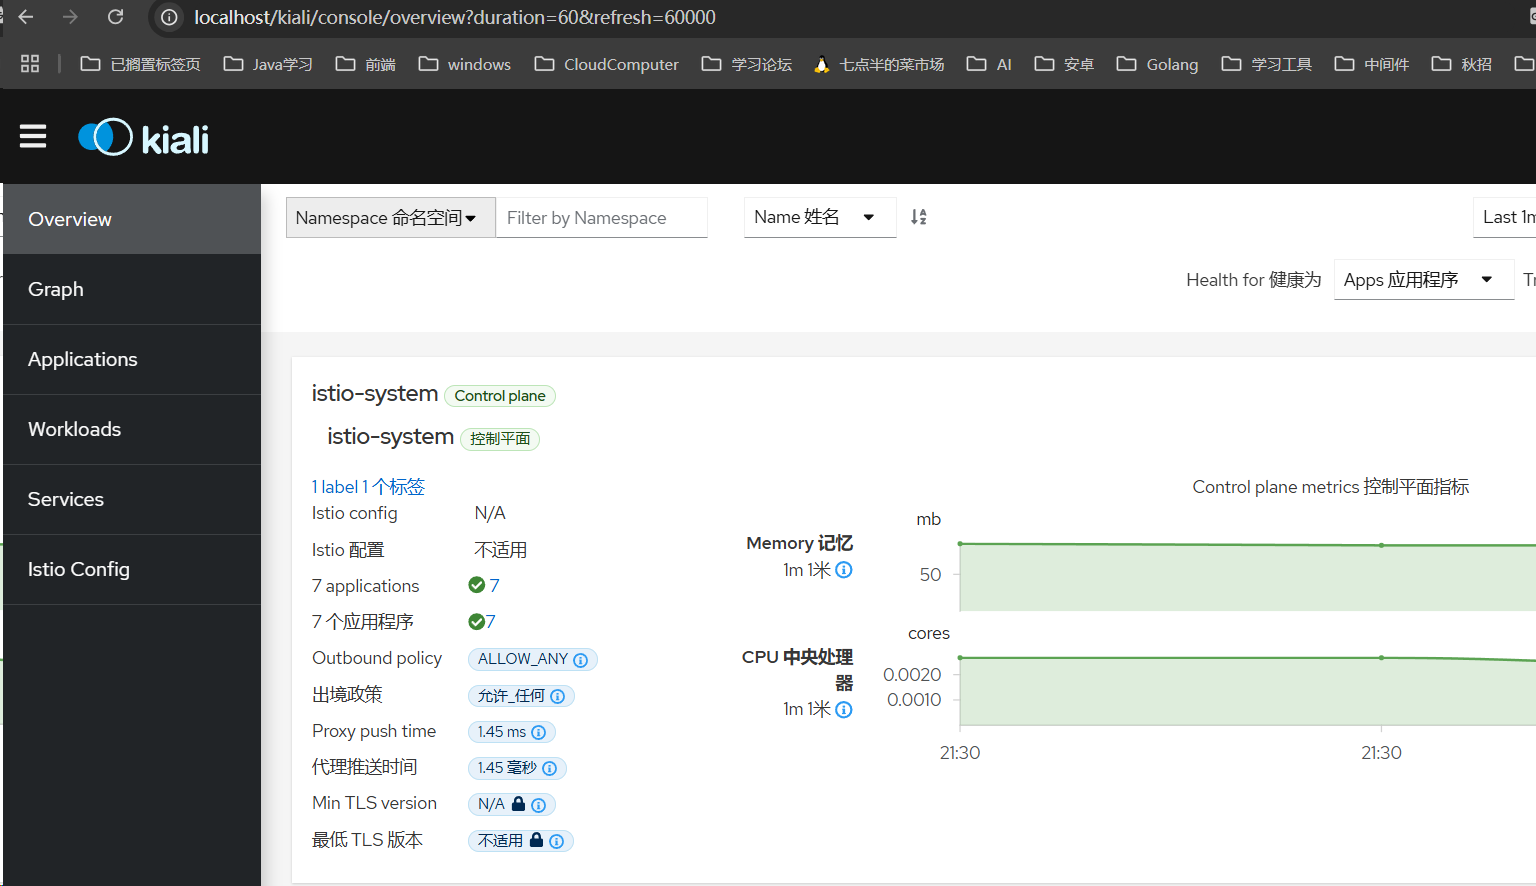
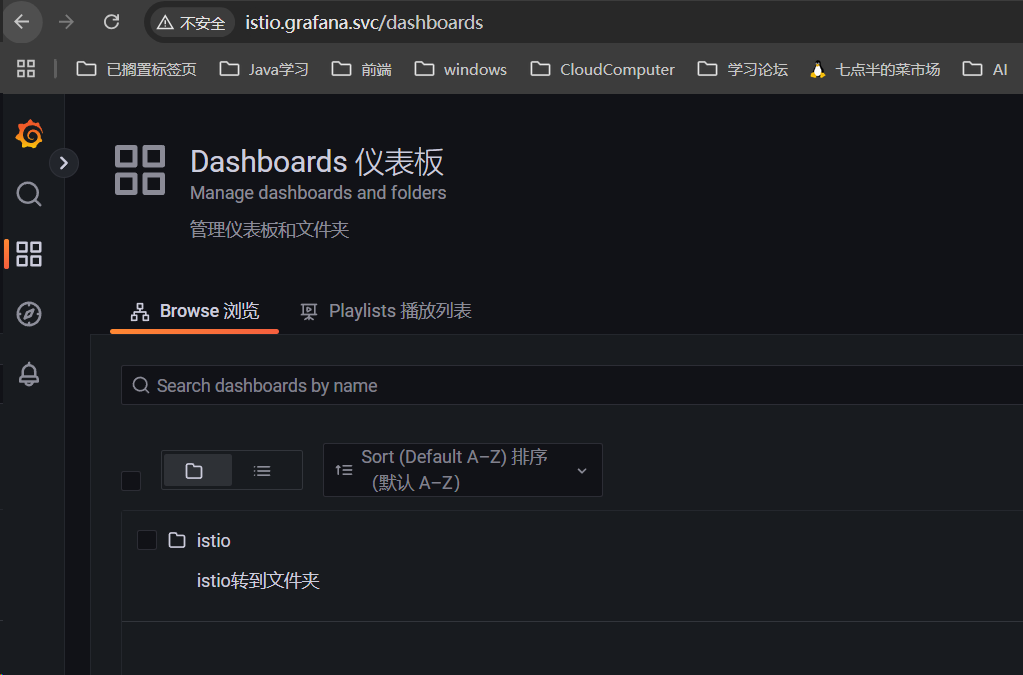
此时你还不能访问 Grafana和 kiali,因为你是 kind部署,如果你需要在外部地址范围,那就需要用到 ingress了,编写如 yaml文件
apiVersion: networking.k8s.io/v1
kind: Ingress
metadata:
  name: kiali-ingress
  namespace: istio-system
spec:
  ingressClassName: nginx
  rules:
    http:
      paths:
      - backend:
          service:
            name: kiali
            port:
              number: 20001
        path: /kiali
        pathType: ImplementationSpecific
---
apiVersion: networking.k8s.io/v1
kind: Ingress
metadata:
  name: grafana-ingress
  namespace: istio-system
spec:
  ingressClassName: nginx
  rules:
  - host: istio.grafana.svc
    http:
      paths:
      - backend:
          service:
            name: grafana
            port:
              number: 3000
        path: /
        pathType: ImplementationSpecific
这里grafnan需要自行修改hosts文件
部署成功打开浏览器访问即可


至此安装完毕

